
How to switch between pages in power bi?
As you may probably know, Power BI comes with a feature for creating page navigation visuals, and in this post, I will show you how to use this page navigation in Power BI.
There are many ways to achieve this, so, in this post, I will explain my two favorite ways to keep it short. I will cover other approaches in future posts.
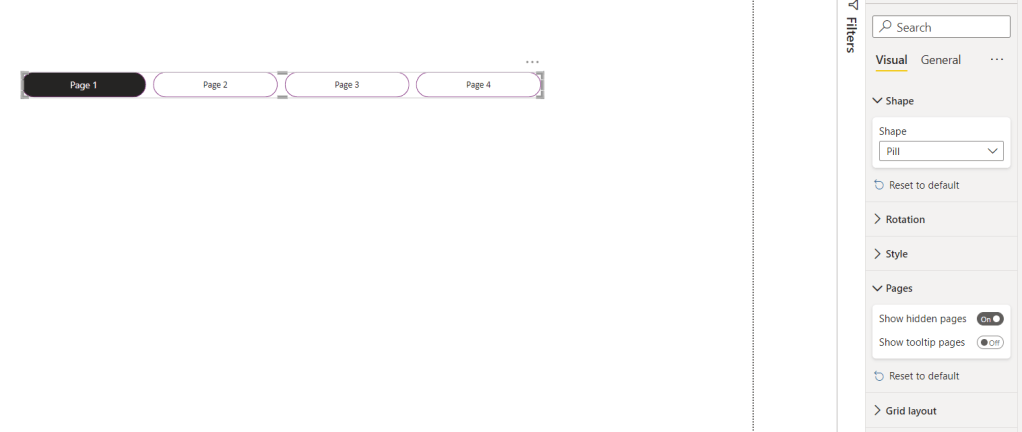
The first method is by clicking on the Insert tab in Power BI, and going to the Buttons, and selecting Navigator then Page navigator creates the visual page navigation which will show all pages that you have in the report.

The option Show hidden pages will add/remove hidden pages in the visual.
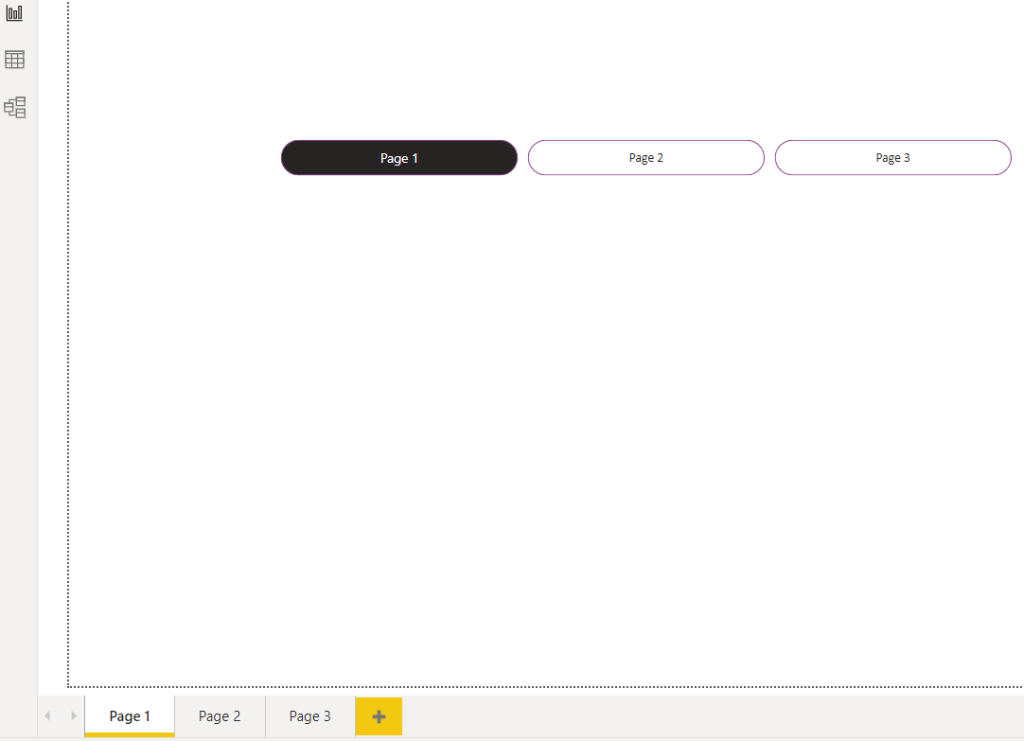
Also, there are options to design the visual by changing items in effects, default, color, or each type of design you like for the report. The benefit of this approach is that once you remove one page, it will automatically hide the item with the name of that page inside the visual. For example, I removed Page 4.
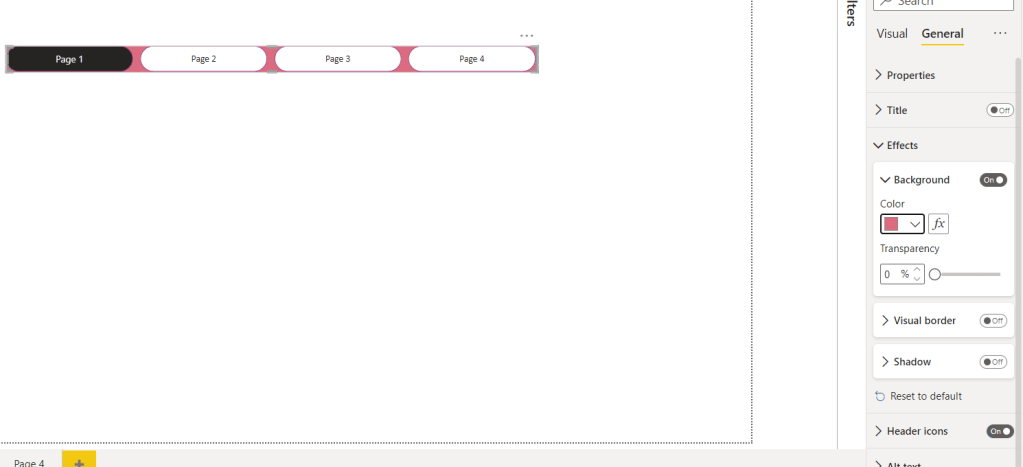
Another main benefit of this approach is that once an effect is added to the visual, it will apply to all buttons, like Shadow, Background,…
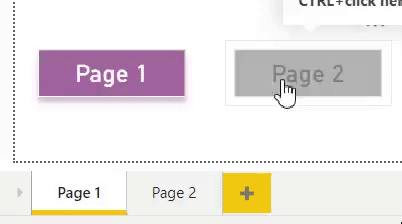
The second approach is to add a button/shape for each page. In this example, I put a rectangular shape for each page. I have two pages for this report.
I start by selecting the Image tab, clicking on the rectangle shape, and putting two rectangles for my pages. I chose a random color for the same page, and for the other page, I picked the color grey.
When you are on Page 1, click on page 2 shape, set Action to on >> Type to Page navigation >> Destination to Page 2.

Next, go to page 2, click on page 1 shape, and set Action to on >> Type to Page navigation >> Destination to Page 1.

now, you will see the result:
Have you used any of these before? Let me know your ideas.

Súper, ths k you so much for the tips
LikeLike
glad you liked it, Ivan. 😊
LikeLike
Eyval😊
LikeLike
😊merci
LikeLike