The magic run can use for running a notebook from another notebook in Databricks. The magic run is %run followed by the other notebook path. In this example, Demo2 is the name of the Notebook we want to use in the magic run path.
I picked the path from the notebook and put it in the %run:
After running the notebook, goes and run the notebook Demo2.
If Comment adding to the cell of %run, it will fail after the run and not find the notebook path:
I hope Databricks solve it in the new update. But for now %run will fail if a comment adds to the cell.
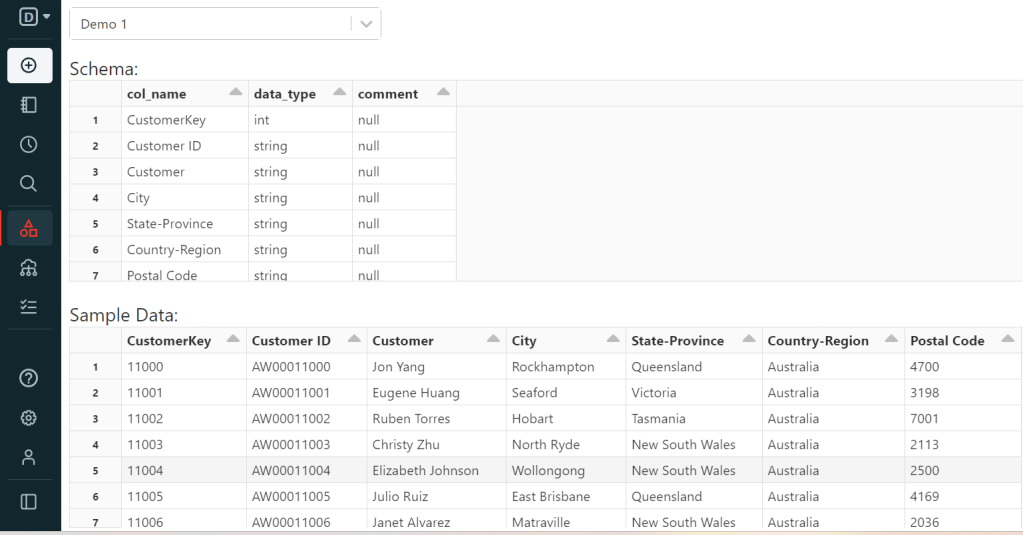
In this post, I will import the sample CSV file to Databricks. I created sample data from the AdventureWorks database and saved it in a CSV file.
For importing that to Databricks, select Create >> Table:
The page with this interface will appear:
Browse for the CSV file:
There are two ways to create the Table:
First: Create Table with UI >> Once you click on this, cluster selection will appear:
Select the cluster and preview the table:
Fill in the Table Name ( just lowercase is allowed and no space), then fix data types ( I changed “CustomerKey” STRING to INT), Column delimiter, and File Type, and the First row is header and preview the table:
After clicking on Create Table:
Next, query the table:
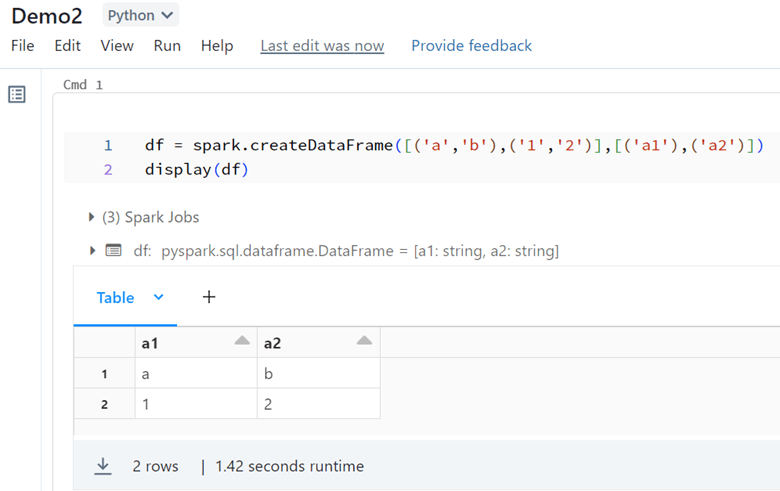
In each cmd cell in the Notebook to change language, we can use %. For example in this Demo1, I used %sql to change the cell language from Python to %sql because the Demo1 Notebook default language is Python in this example. For checking the table, you can open Data Explorer:
The second choice is Create Table in Notebook. Selecting this will create the Notebook and you can run it to have your new table:
I changed the first_row_is_header = “true” from false, As my table has a header.
As you can see, we have all datatypes String.
In schema definition, we can change datatypes by importing types to the cmd cell. I will explain the types in future posts with more details. For example, if you want to change the type to Integer for “CustomerKey”:
here is the result:
You like to start with Databricks??? Leave your comments. 👊
Azure Databricks is a unified set of tools for building, deploying, sharing, and maintaining enterprise-grade data solutions at scale. The Azure Databricks Lakehouse Platform integrates with cloud storage and security in your cloud account and manages and deploys cloud infrastructure on your behalf. For more details, click here.
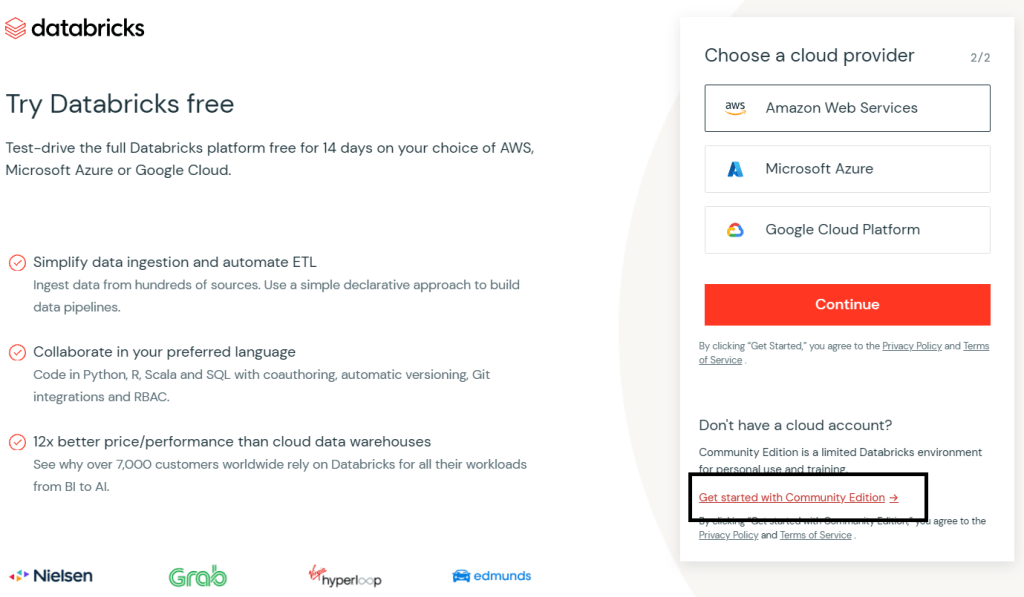
You can start with Databricks for free. First, create an account in the Databricks community edition.
Click on “Try Databricks“. It will drive you to this page and create your Databricks account:
Next, click on continue and this page will show the cloud provider, then click on “Get started with Community Edition“:
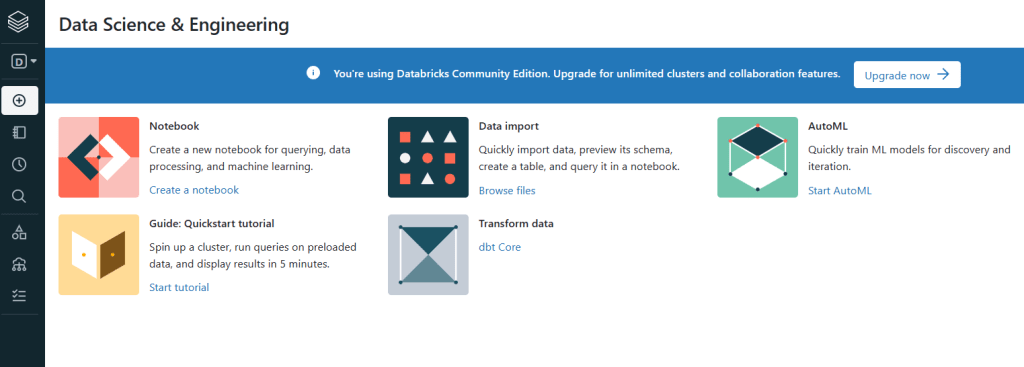
Now, You can start with Databricks, I selected Data Science & Engineering:
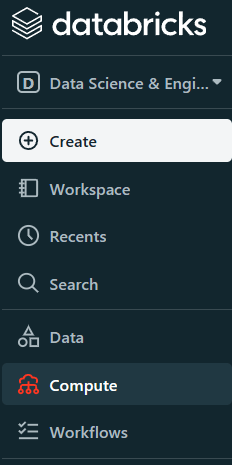
The first step is creating the cluster, to run the code. Click on Compute and select Create Compute:
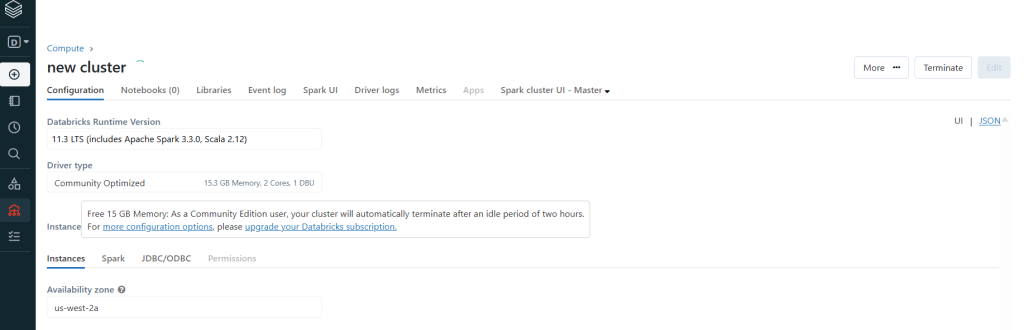
Create New Cluster:
After creating a cluster it will start automatically, but it will stop when not used.
For running codes in the new Notebook, we should start the cluster first.
What is Notebook?
In Azure Databricks, notebooks are the primary tool for creating data science and machine learning workflows and collaborating with colleagues. Databricks notebooks provide real-time coauthoring in multiple languages, automatic versioning, and built-in data visualizations. (More details)
For creating the Notebook, select Create or go to your workspace and right click on the white space and select Create –> Notebook.
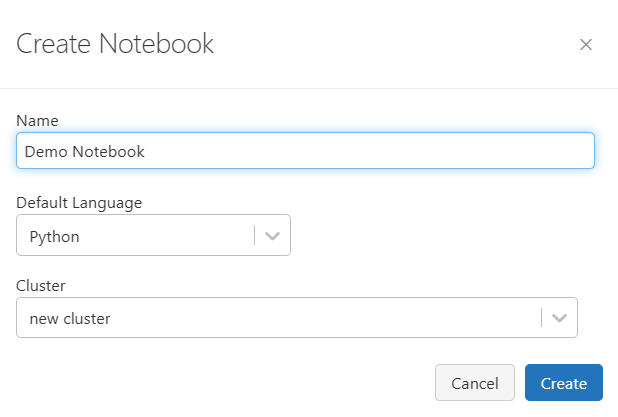
Then Name the Notebook and choose the Language you want to code, then select the Cluster to attach to the Notebook –>Create:
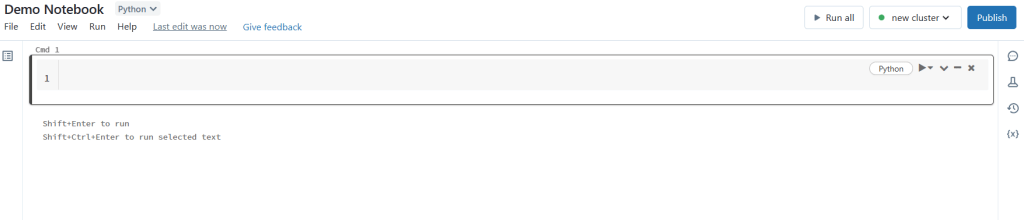
After, you will see the Notebook. In each cmd, you can write the code:
There are Languages you can choose. The beauty of the Notebooks is that you can switch between languages:
I will continue with Databricks in future blog posts.